Module Management Overview
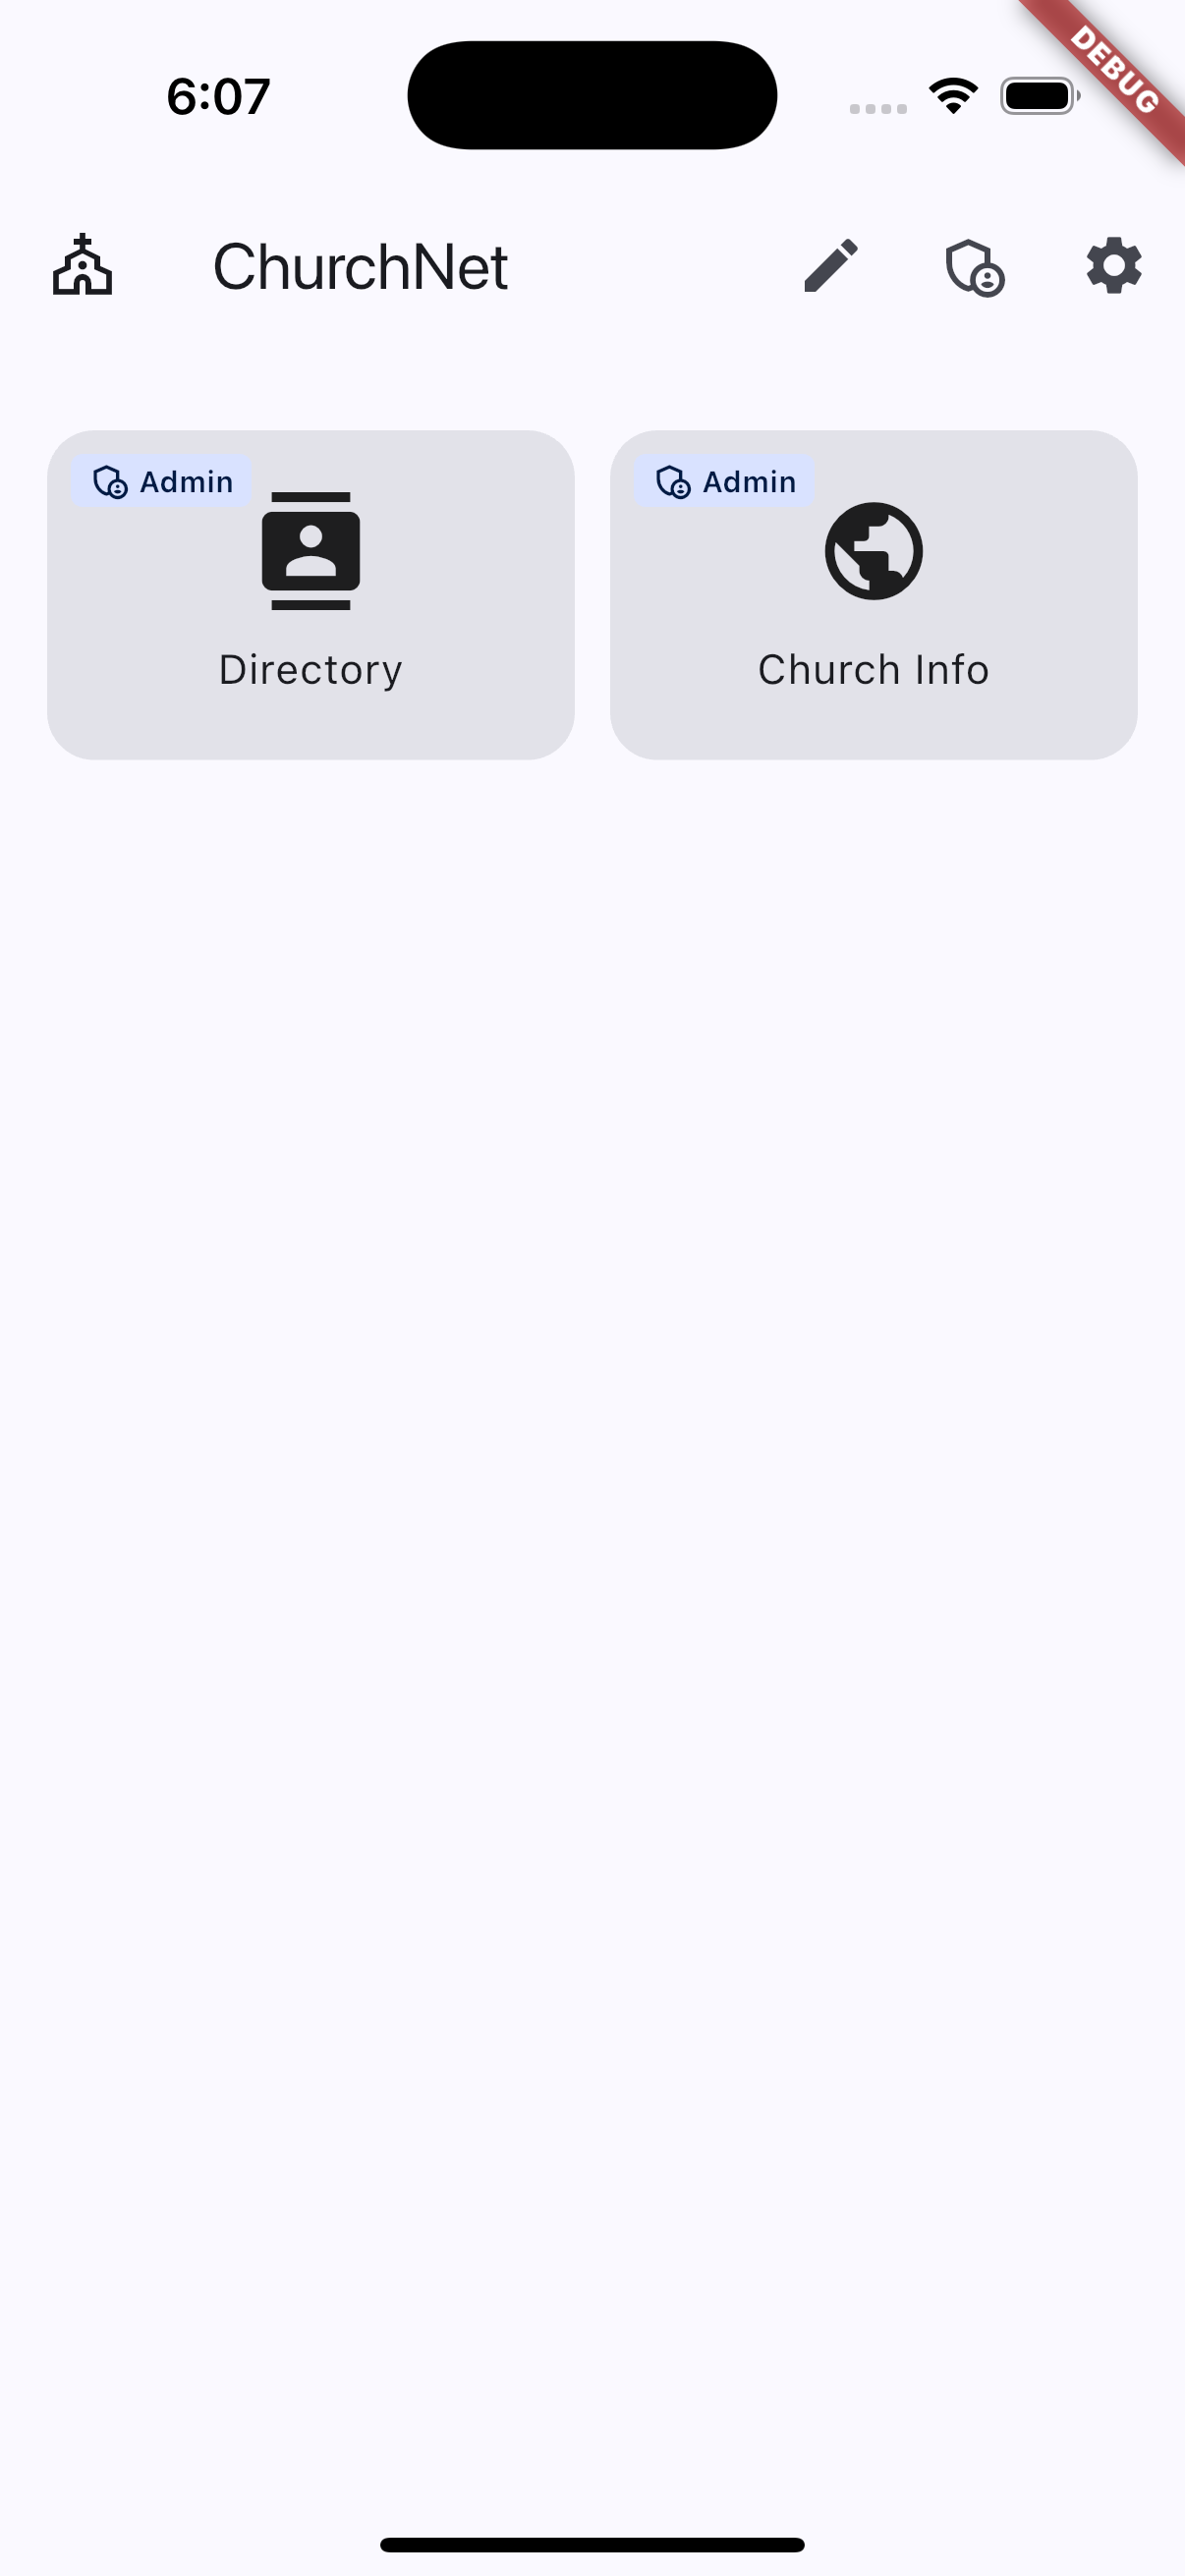
The Module Management screen allows App Admins to enable, disable, and organize the features (modules) available to your congregation in the ChurchNET app.
Only users with App Admin permissions can manage modules.
Opening Module Management
- Log in to the ChurchNET app as an App Admin.
- From the home screen, tap the pencil icon at the top of the page.
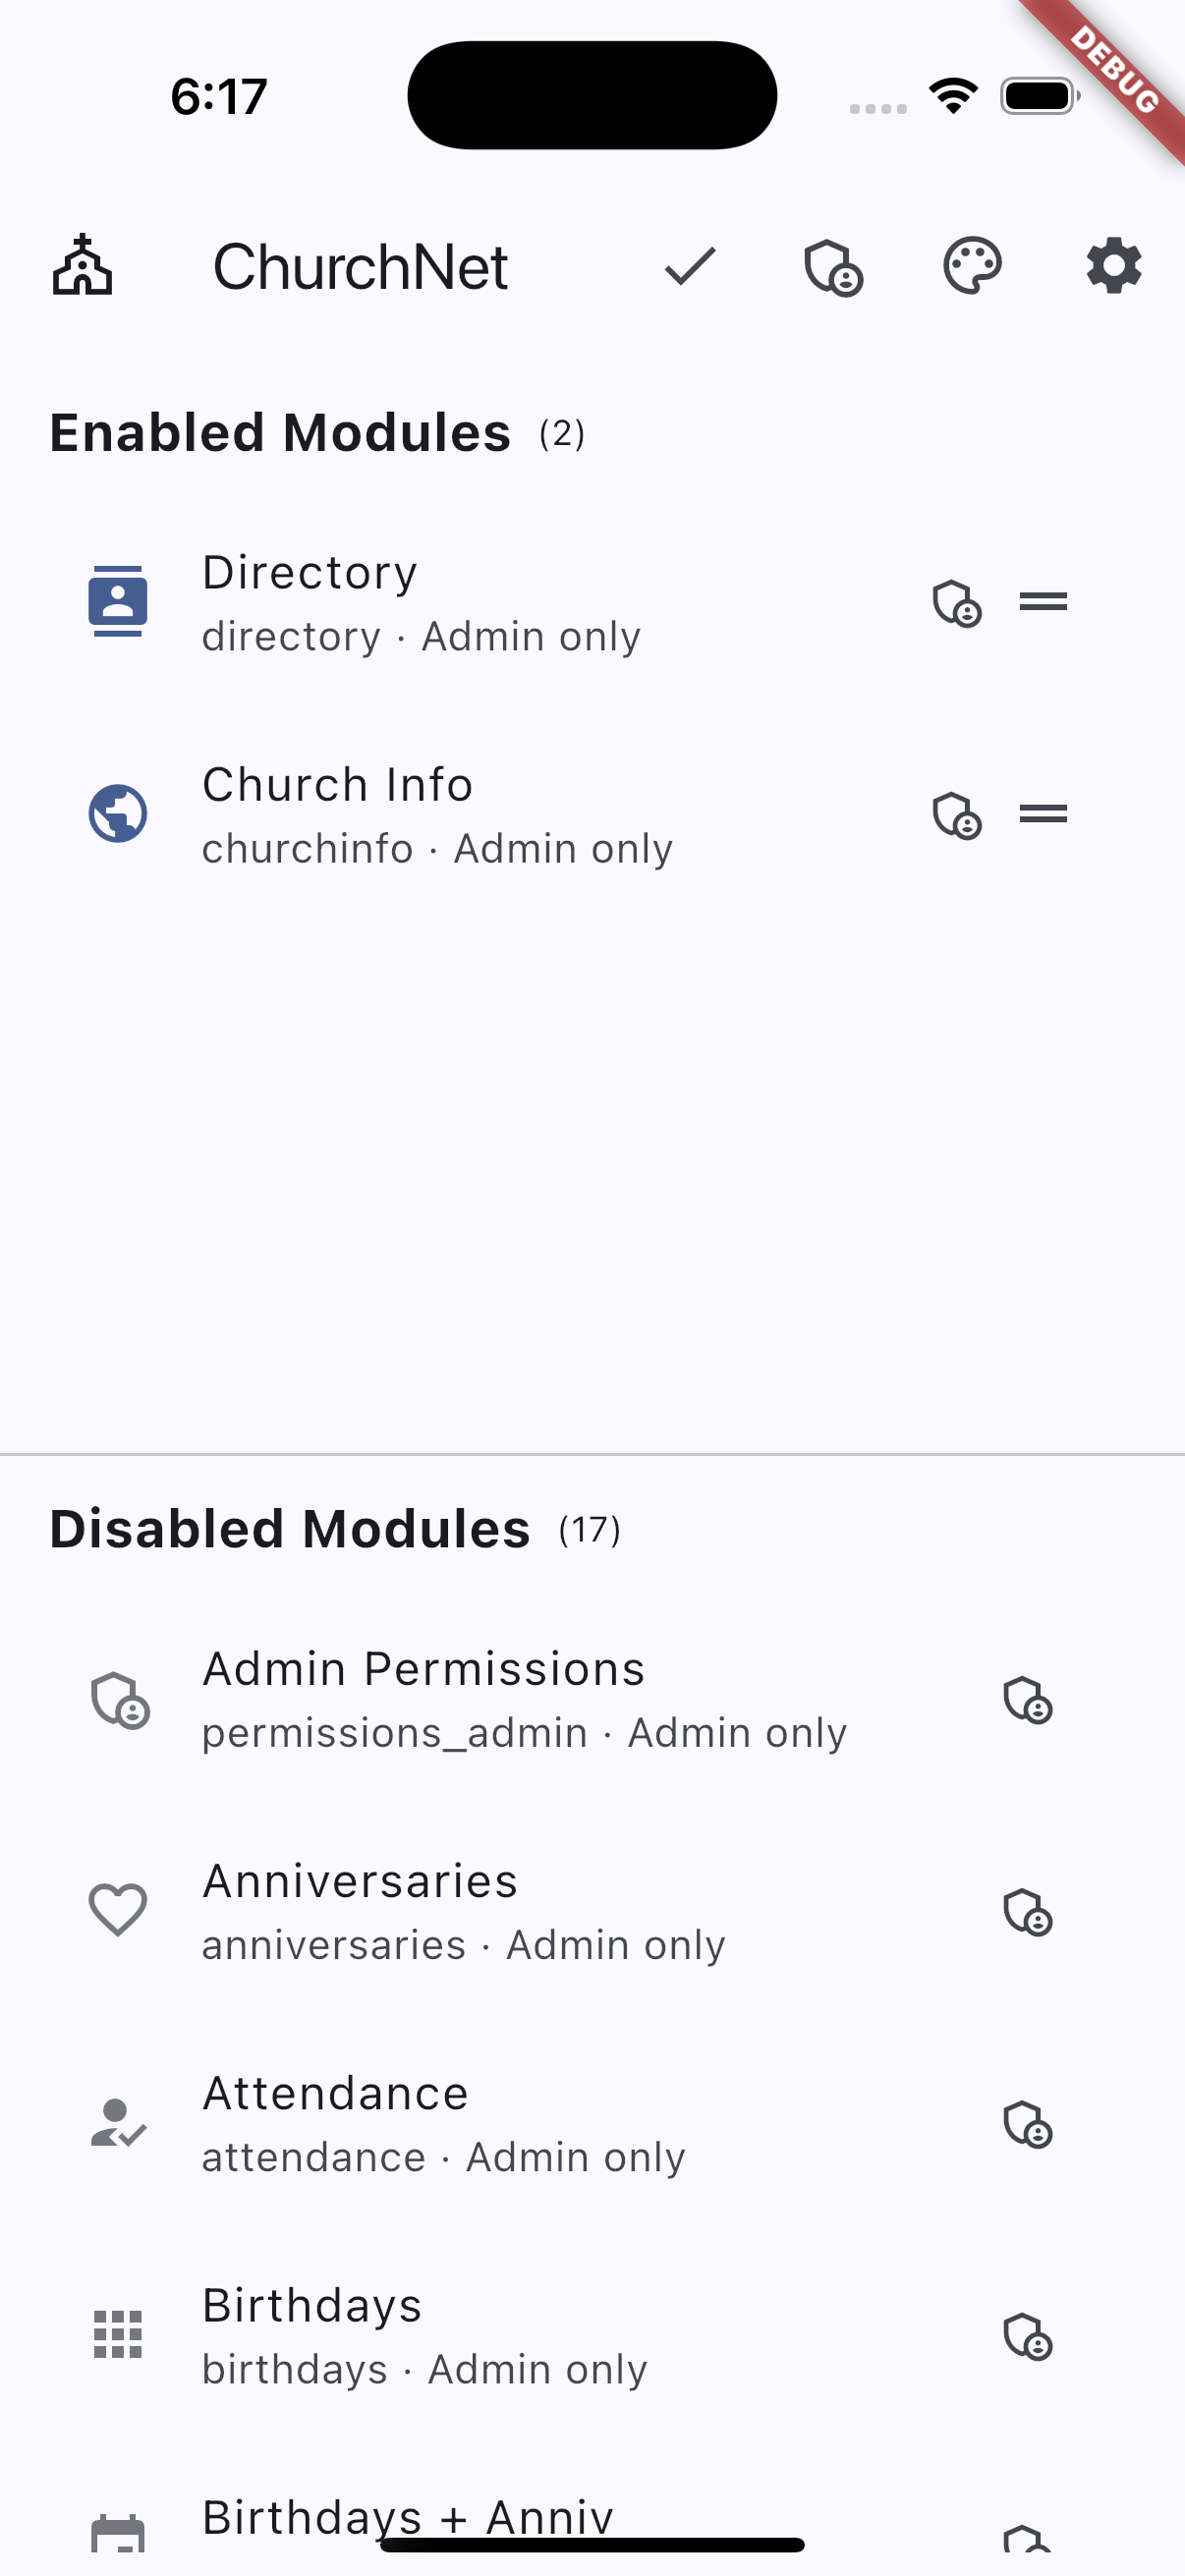
Understanding the Module Screen
The screen is divided into two sections:
- Enabled Modules — modules currently visible in the app
- Disabled Modules — modules hidden from users
Editing a Module
To change a module’s settings:
- Tap the module.
From here you can:
- Rename the module
- Set it to App Admin Only
- Make it available to all members
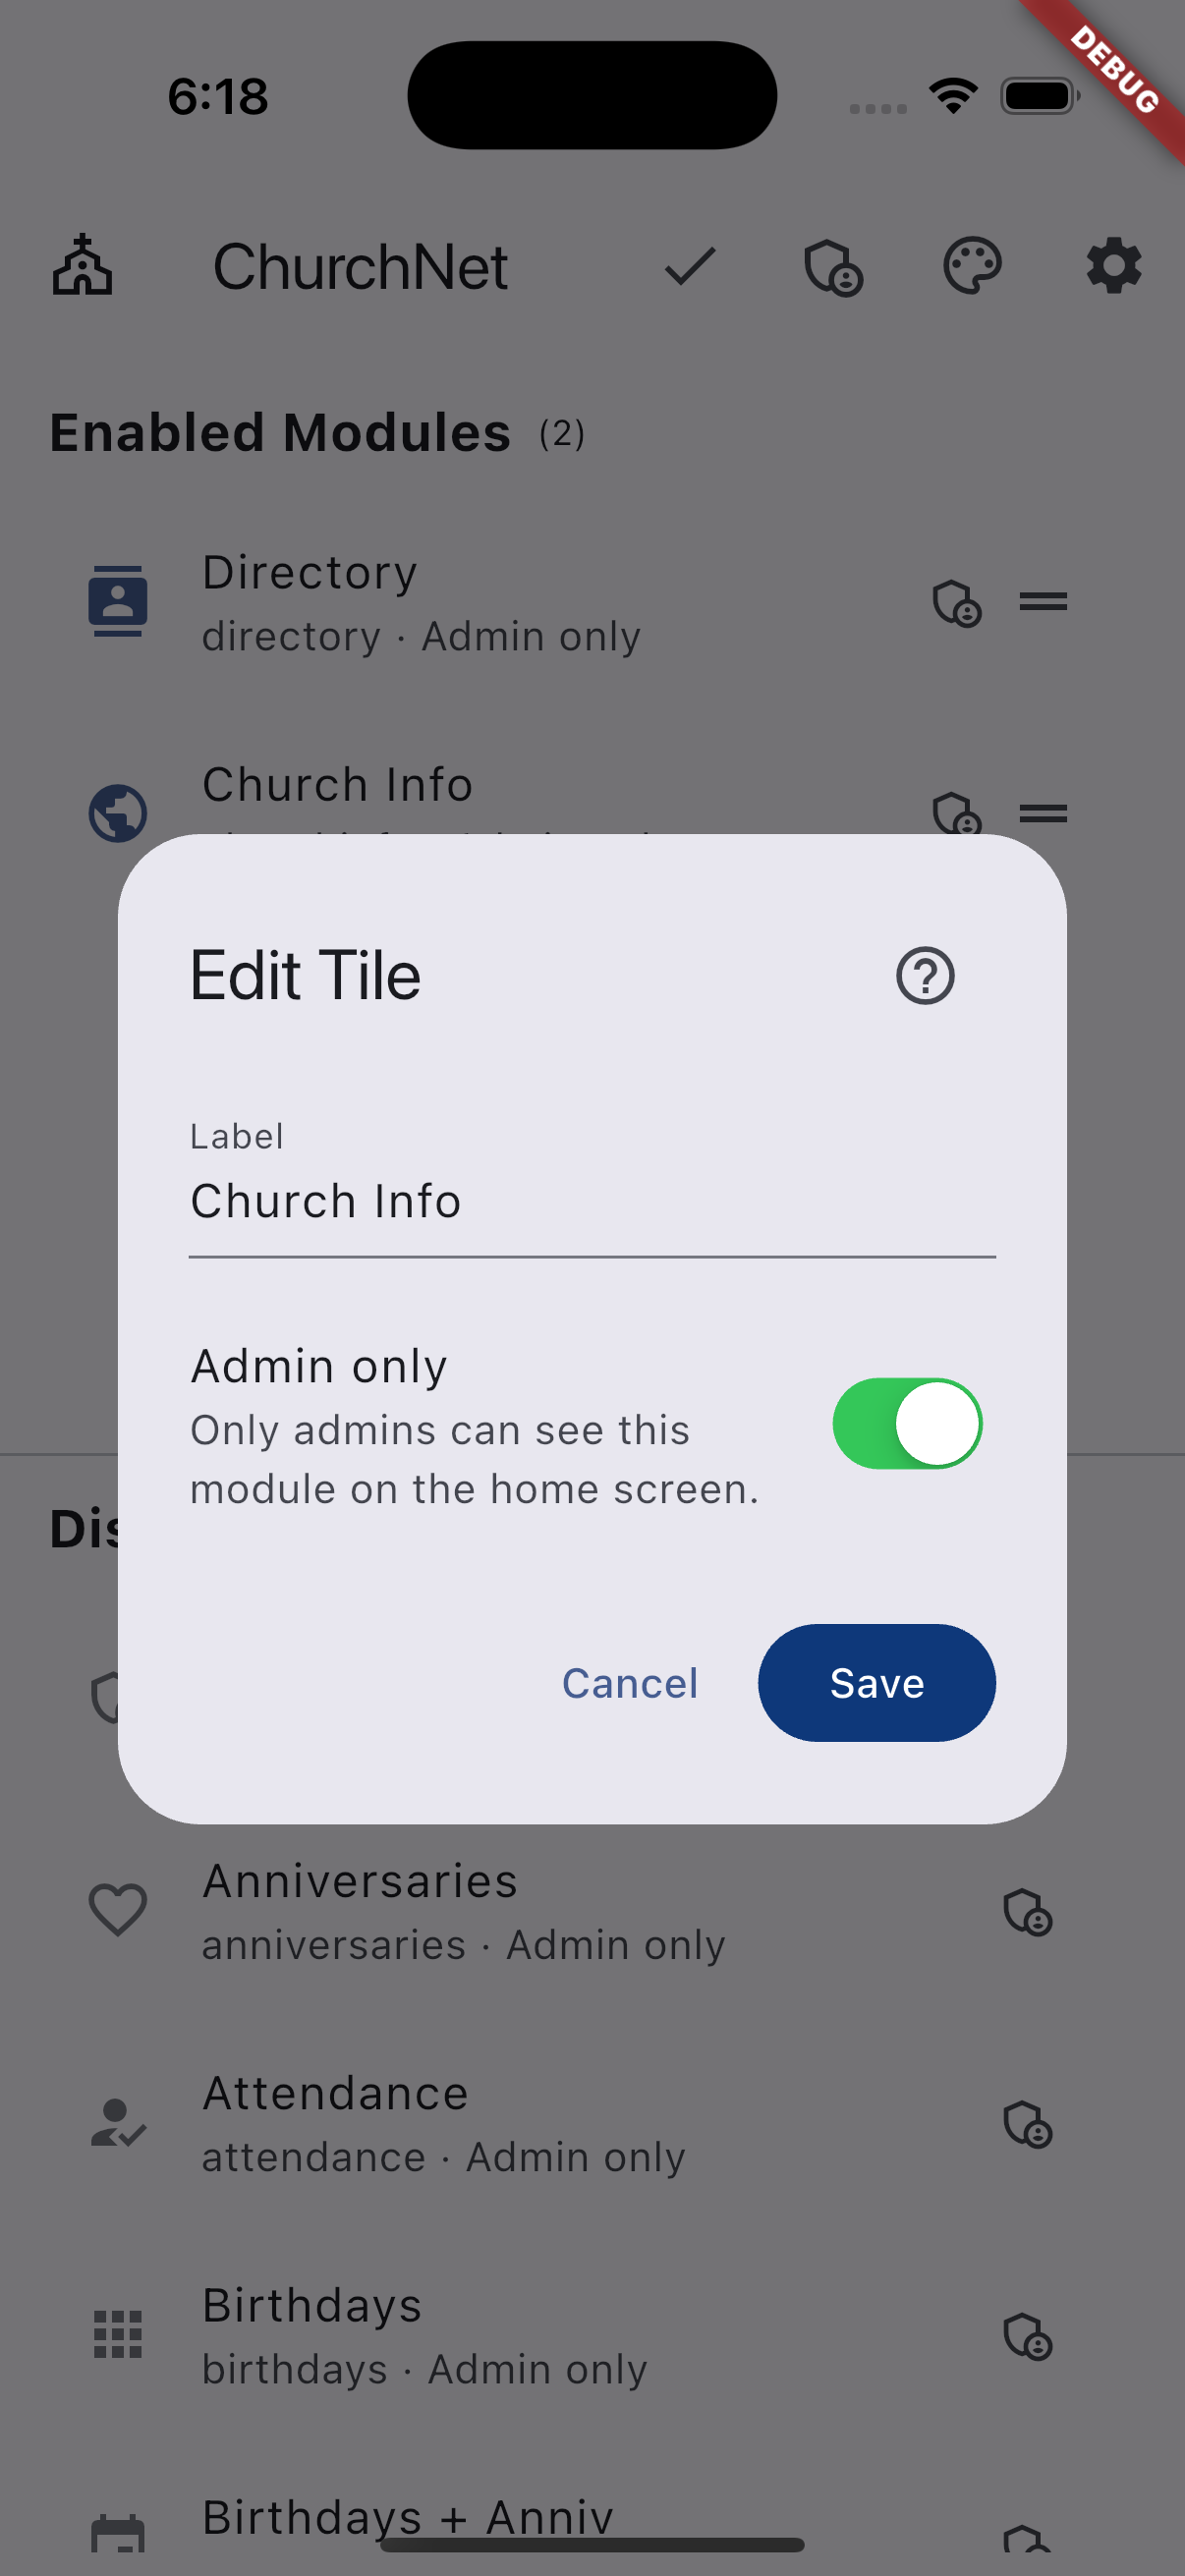
Tip: When setting up a new module, keep it set to App Admin Only until you are ready for members to use it.
Enabling or Disabling a Module
- Enable a module: Tap and hold the module, then drag it into the Active Modules section.
- Disable a module: Tap and hold the module, then drag it into the Disabled Modules section.
Reordering Modules
You can tap and drag active modules to change the order they appear on the ChurchNET home screen.
The order shown here is the same order your members will see in the app.
Reload Modules
Normally, the ChurchNET app checks for module updates automatically about once per month.
If you have just enabled a module and it is not appearing for users yet, you can force the app to refresh.
To manually refresh modules:
- Tap the gear icon on the home screen.
- Tap the refresh button at the top of the screen.
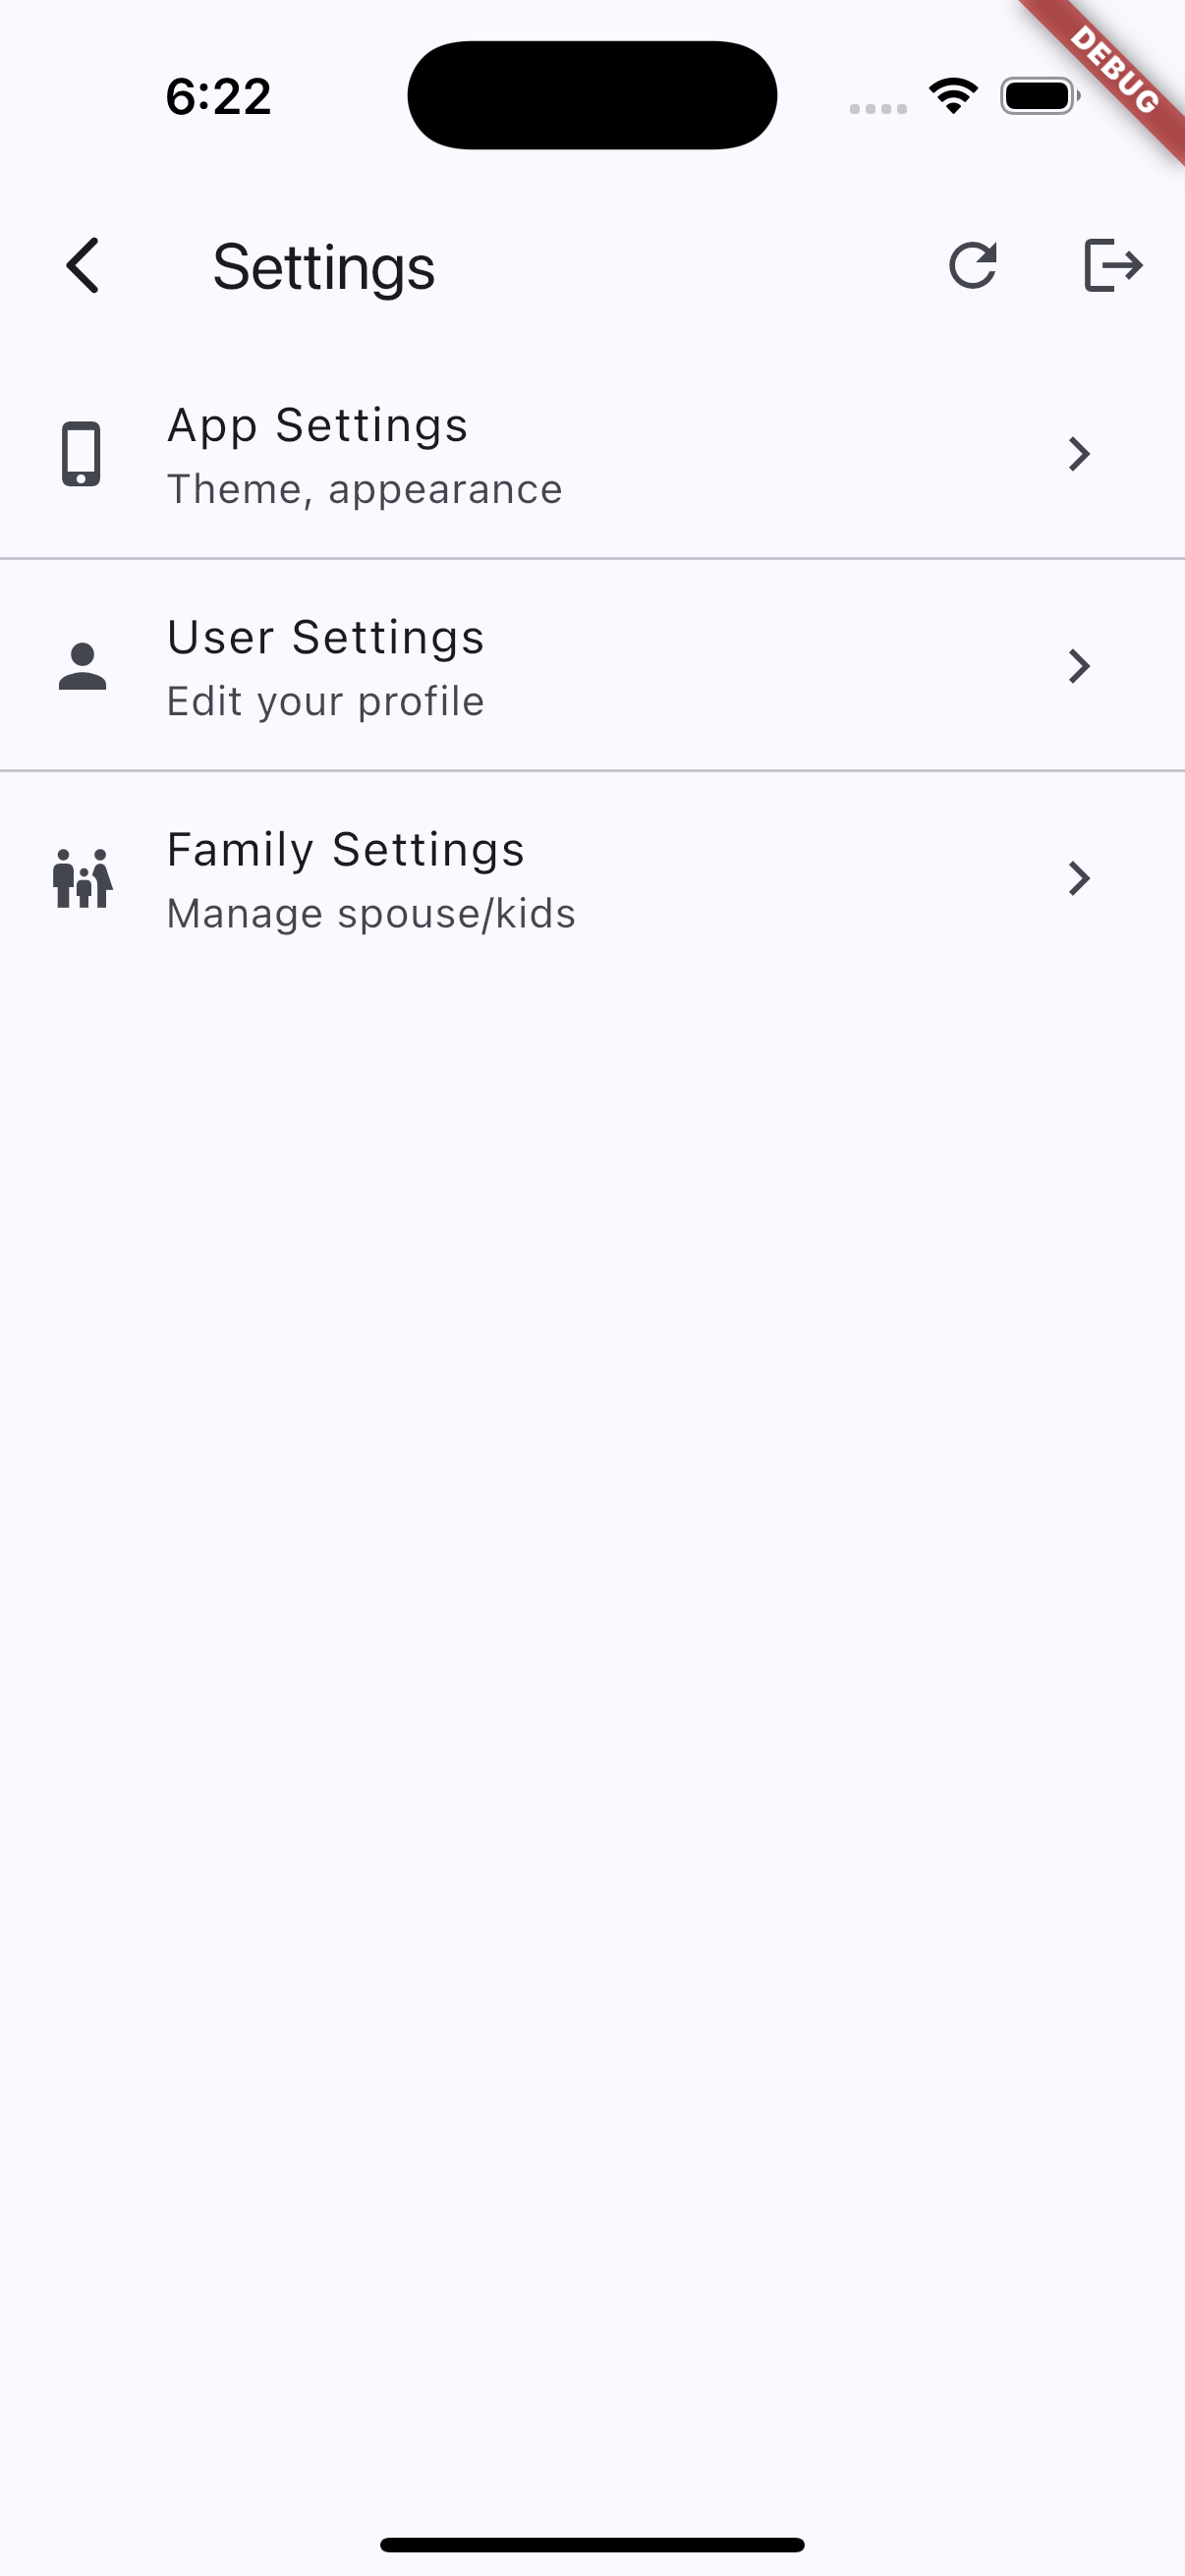
This will immediately update the modules shown in the app.